
Zero Markets Registration & Verification Guide
Zero Markets has a fairly straightforward procedure for registration and verification of trading accounts, which we will describe in detail in this text. Having a step-by-step explanation on how to register a forex trading account is essential for both beginners and experienced traders to ensure a smooth and hassle-free onboarding process. Forex brokers often require traders to complete multiple verification steps, including identity confirmation, proof of address, and financial details, all of which can be overwhelming for those unfamiliar with the process. A detailed guide helps traders understand the required documents, navigate the broker’s registration portal, and avoid common mistakes that could lead to delays or account approval issues. Additionally, step-by-step instructions clarify important aspects such as account types, base currency selection, and leverage settings, allowing traders to make informed decisions based on their trading needs. A well-structured guide reduces confusion, saves time, and ensures compliance with the broker’s regulations, enabling traders to start trading efficiently and with confidence.
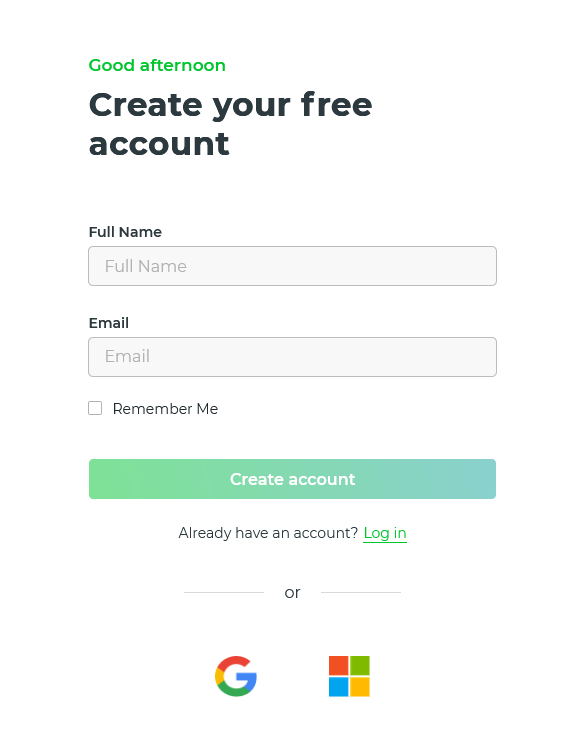
At the time of writing this review, Zero Markets does not have a mobile app, so registering a new account can only be done through the ana broker’s website. Click the Open Account menu in the top right corner of the interface. In the screen that opens, enter your full name and email, then click Create Account. Zero Markets sends a verification code to the entered email, which you must enter within 20 minutes to continue the registration process.
After verifying your email you must enter a password that meets the requirements. In this screen you can also enter a referral code if you have one.
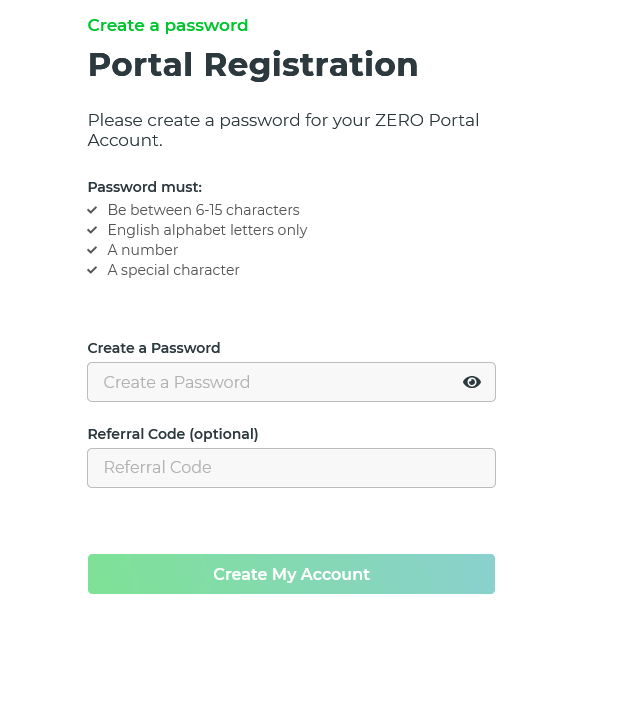
The broker allows you to create an account by using an existing Google or Microsoft account. Using a third-party login option such as a Google or Microsoft account when setting up a trading account with a forex broker may not be advisable for several important reasons. One of the primary concerns is related to security and privacy. When you use a third-party login, you grant the broker access to certain personal data linked to your Google or Microsoft account, which could include your name, email address, and in some cases, additional information such as contact lists or usage patterns. While this might seem convenient, it introduces an additional layer of data exposure, increasing the risk of your information being shared, stored, or used in ways you may not fully control or even be aware of.
Another concern is account independence. If your trading account is linked to your Google or Microsoft profile and you later lose access to that primary account—whether due to a hack, account lockout, or accidental deactivation—you may also lose access to your trading platform or face a lengthy recovery process. This could be particularly problematic in volatile markets where timing is critical, and delayed access to your trading account could result in financial losses.
Furthermore, third-party logins can complicate compliance and verification procedures. Forex brokers are required to perform Know Your Customer (KYC) and Anti-Money Laundering (AML) checks. Using a third-party login might bypass the standard registration flow, potentially causing discrepancies or confusion during the verification process. You may still be required to submit personal documents separately, making the initial convenience of third-party login minimal and potentially counterproductive.
Additionally, from a technical standpoint, reliance on an external authentication system means that if the third-party service experiences downtime or access restrictions, your ability to log into your trading account could be temporarily affected. This lack of control over the authentication mechanism adds unnecessary dependency and introduces potential points of failure.
Ultimately, while using a Google or Microsoft account to sign up for various online services may be convenient, in the context of a forex broker—where real money, regulatory compliance, and personal identity are involved—it is generally safer and more responsible to create a dedicated, standalone account. This ensures greater control, clearer separation of sensitive financial activity from general internet use, and a more secure framework for managing your trading profile.
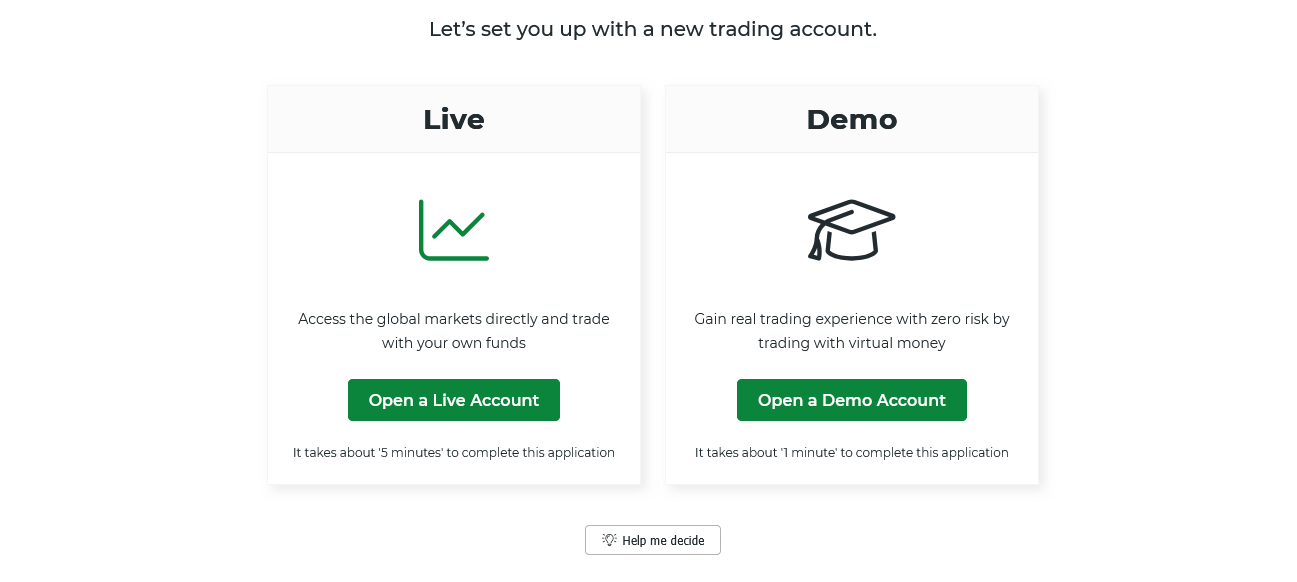
Once you have created an account via email or other available options, you must choose whether you are creating a Live or Demo account. After completing the registration process you will have the option to create additional accounts.
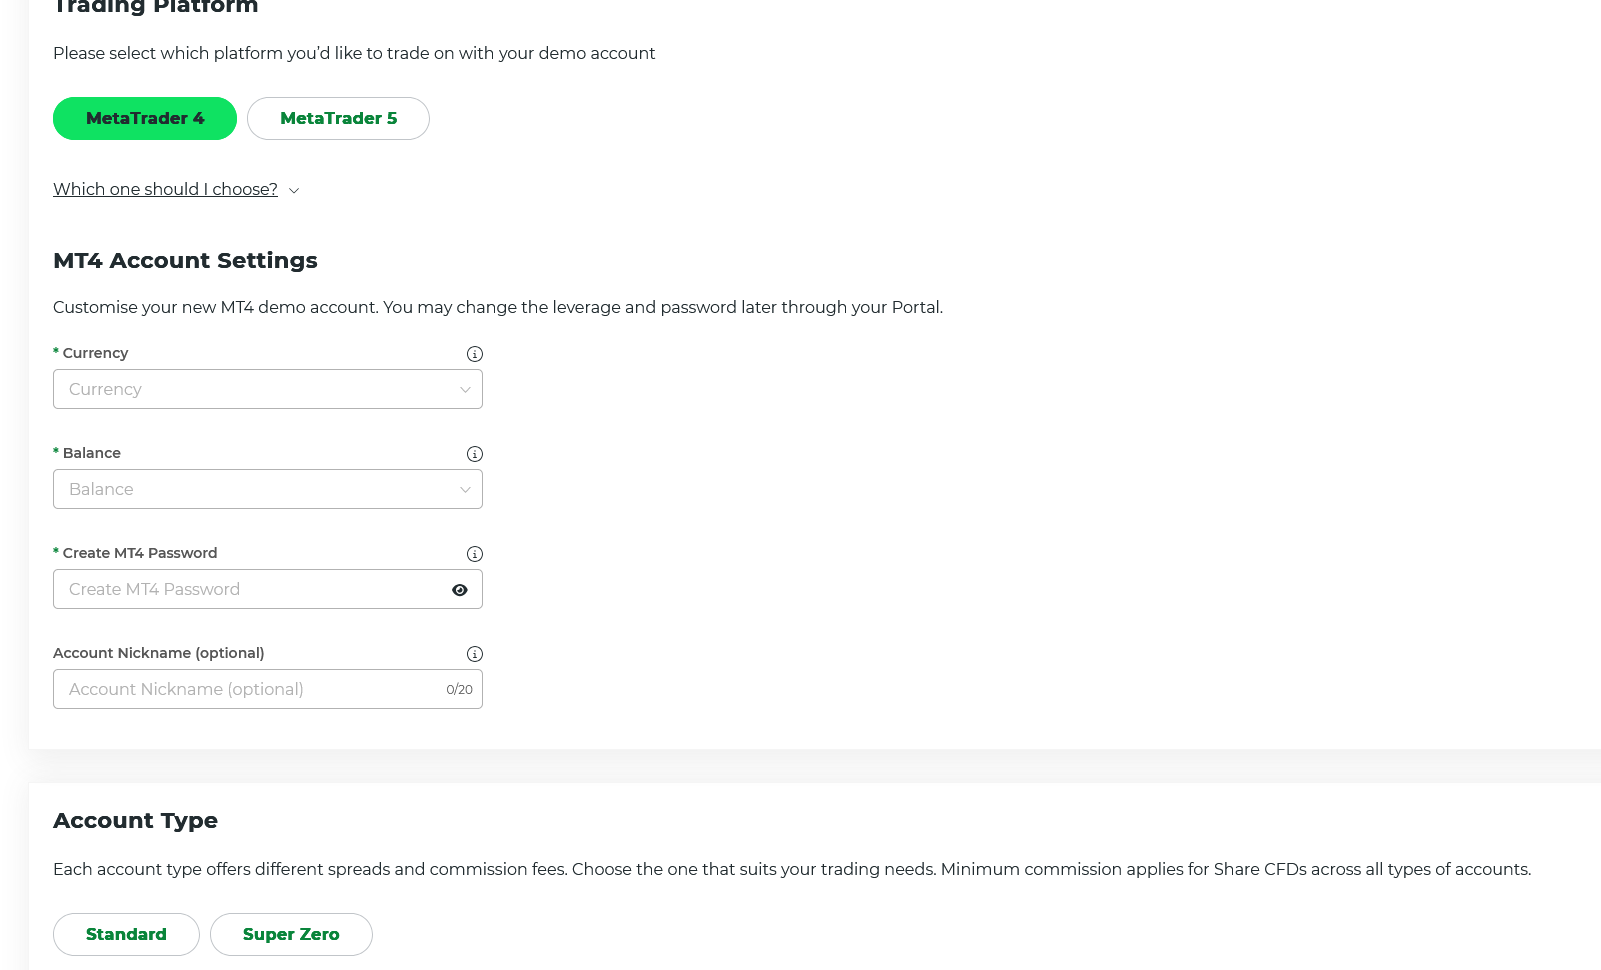
To configure your first Live or Demo account, select a trading platform (MT4 or MT5), an account base currency and a password to log into the trading server. When creating a Demo account, you must also enter a virtual balance amount. You also have the option to give your account a Nickname.
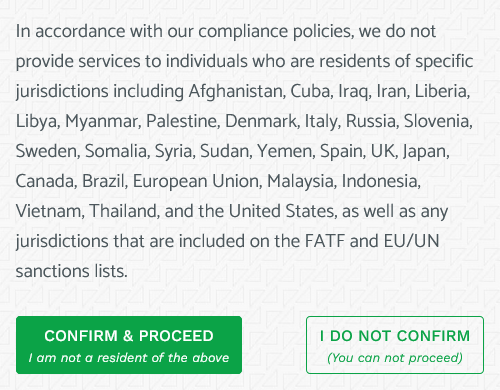
The next step requires you to confirm that you are not a resident of one of the jurisdictions from which Zero Markets does not accept clients.
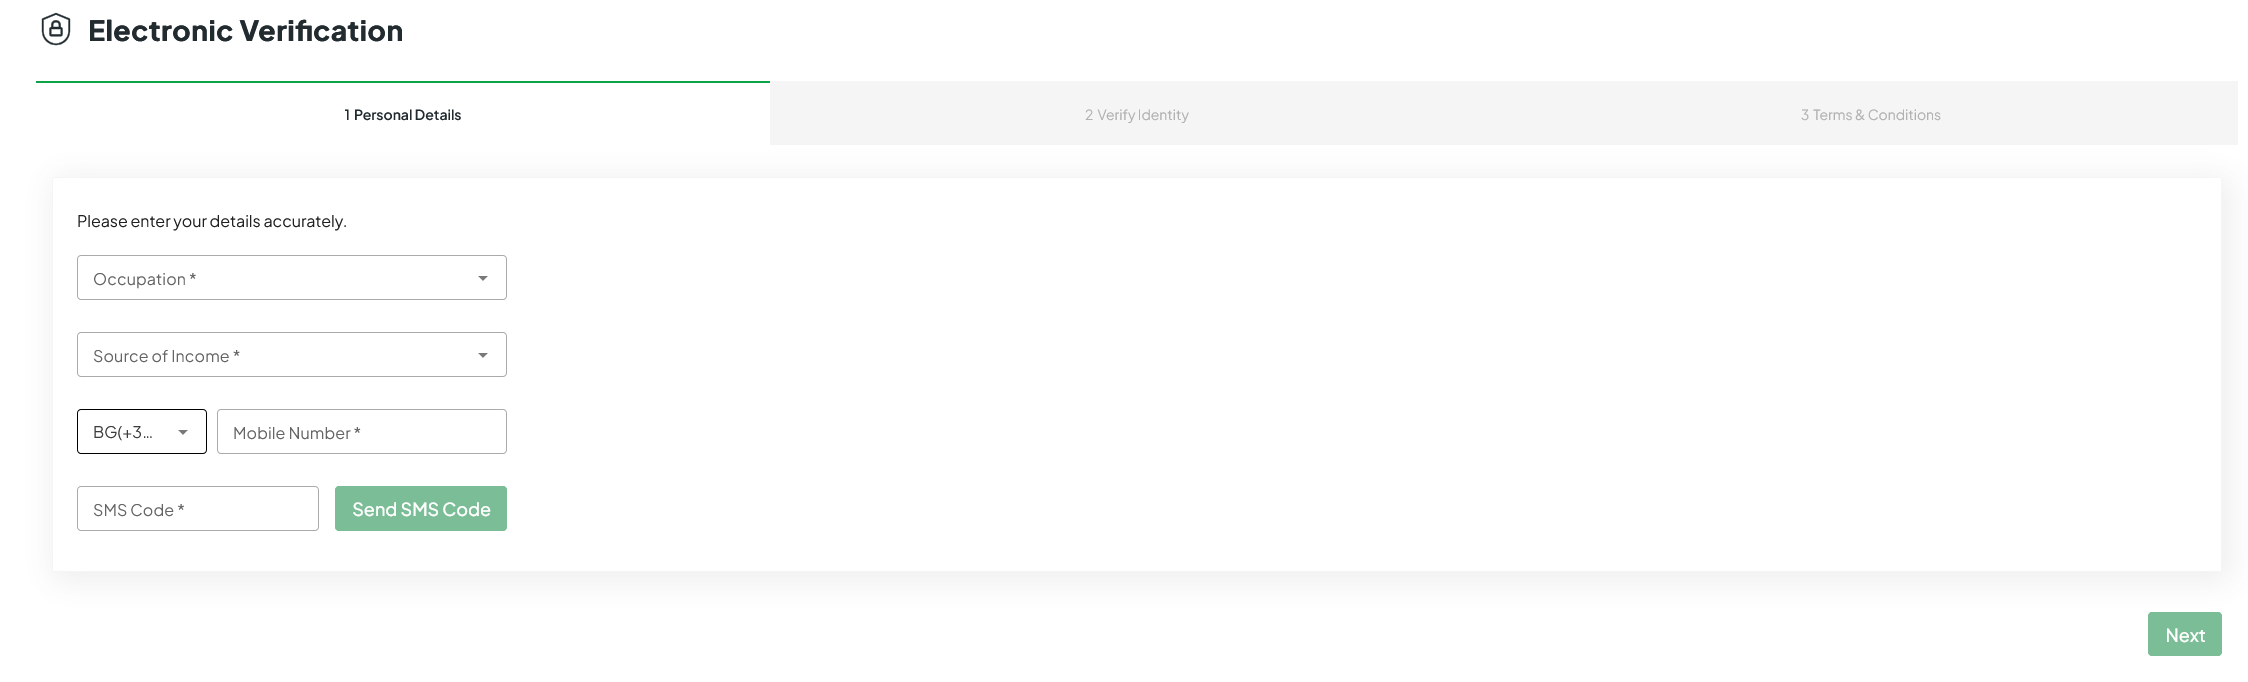
At this stage you get full access to the Zero Markets dashboard. But to deposit funds and start real trading, identity verification is required. For this purpose, you need to provide additional personal information such as area of employment and source of income, as well as verify a phone number via SMS. You must provide a clear image of a photo ID, and the broker may request additional verification such as a photo of you holding the document. The last step to create a Live Account is to agree to Zero Markets’ Terms and Conditions.